This article takes you with simple steps in configuring peer-to-peer replication. P2P replication is new to SQL server 2005 and though looks like complex in theory its one of the easiest to configure and maintain on long run. The following steps take you through the configuration process.
Configuring the distributor
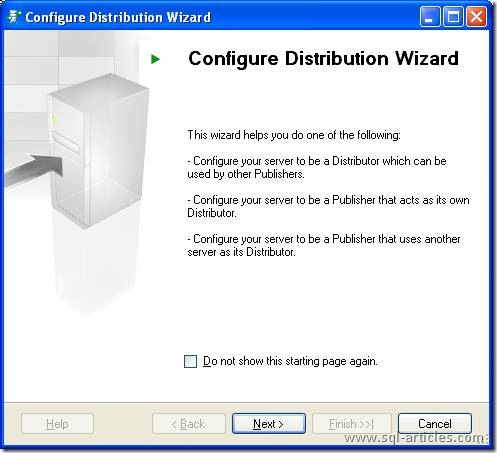
Distributor has to be configured for all the nodes participating in the replication. Each node should have its own distributor. Once you click the configure distribution you will be taken to the welcome screen. Click next.
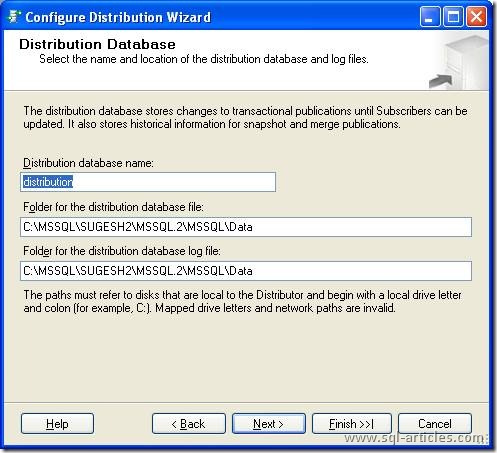
Next you will be asked for the details of the distribution database server and name. Confirm the detail and click next.
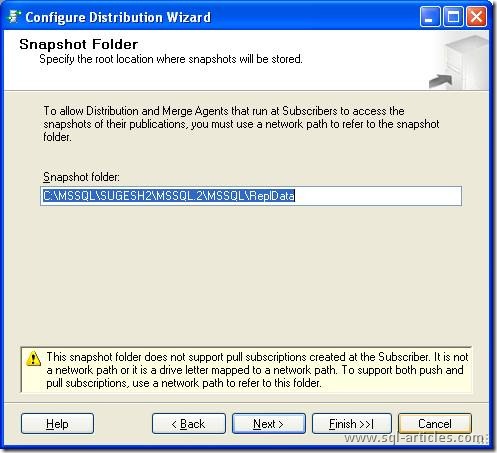
Next you will be asked for the shared folder where the snapshot will be placed. Confirm and Click next.
Next you will be asked to confirm the details of Distribution database click next after confirmation.
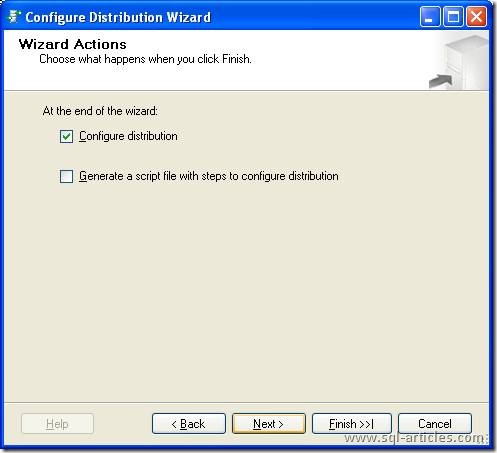
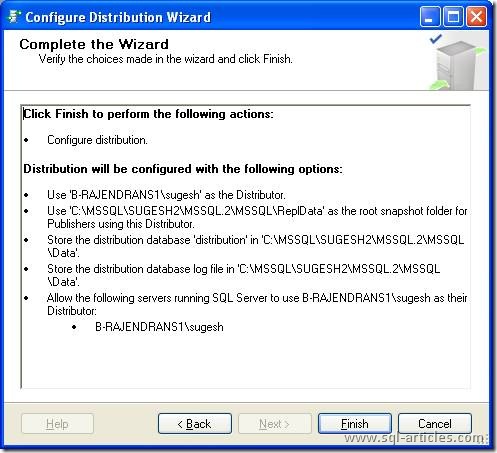
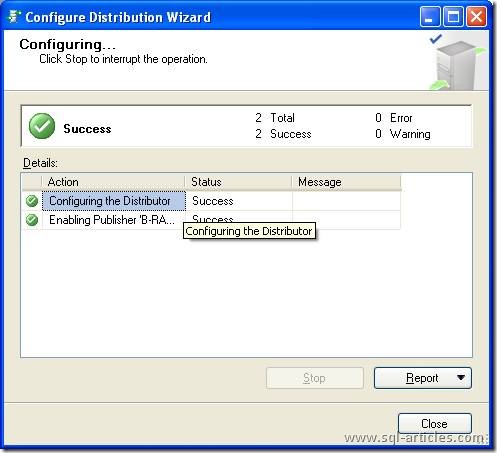
Once you are done with this, click finish so that the distributor will be configured for the server. Remember to follow these steps for all nodes participating in the replication. If you already have it configured the you are all set to start with the data replication.
Configuring Publication database:
The next step involved is configuring the publication for the replication instance. Login to one of the node and create a new publication following the below steps.
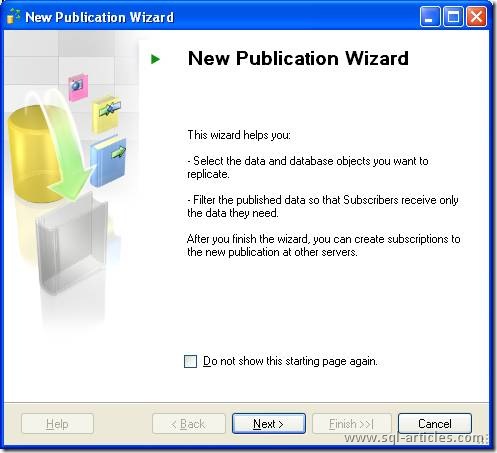
On the welcome screen, click next.
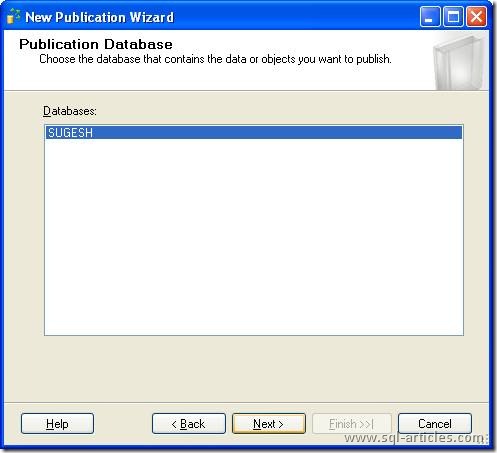
Confirm the database to be published and click next.
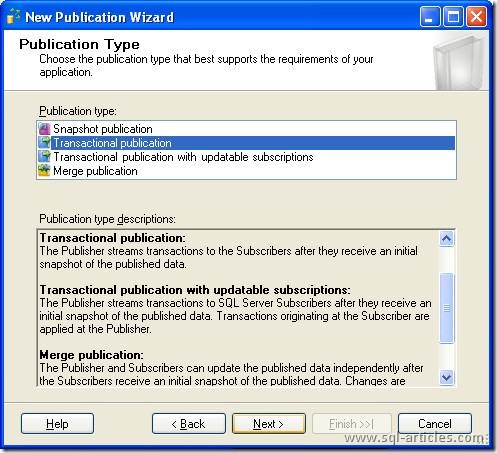
Click on transactional replication and click next.
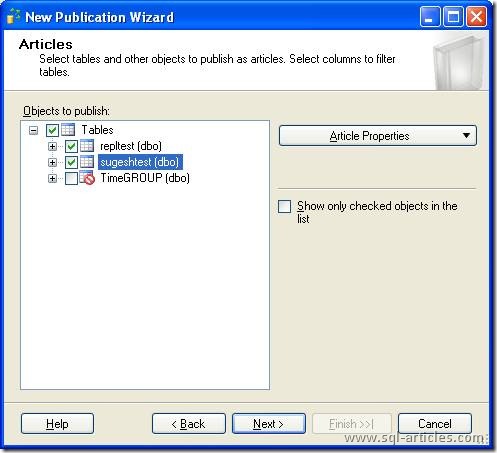
Select the articles to be published and click next. Remember that P2P replication is a kind of transactional replication you can add articles only having a primary key column.
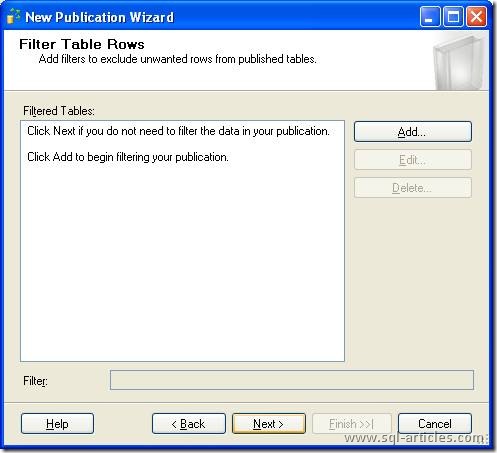
You cannot filter rows in P2P replication so ignore the next screen clicking next.
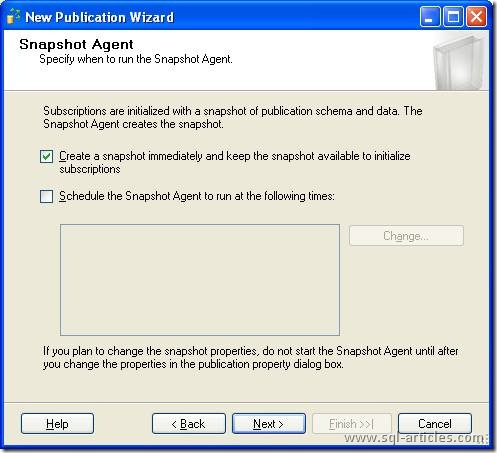
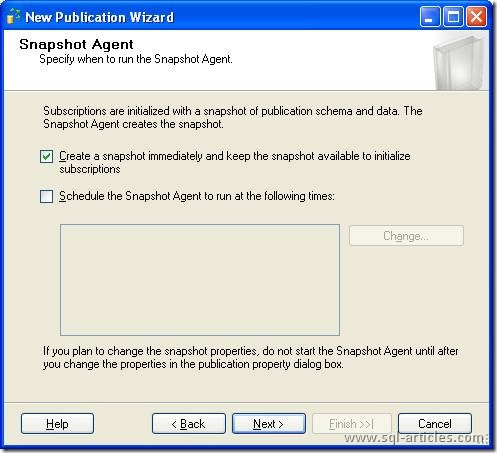
Next screen is about creating the snapshot for the publication. Choose what you need and click next.
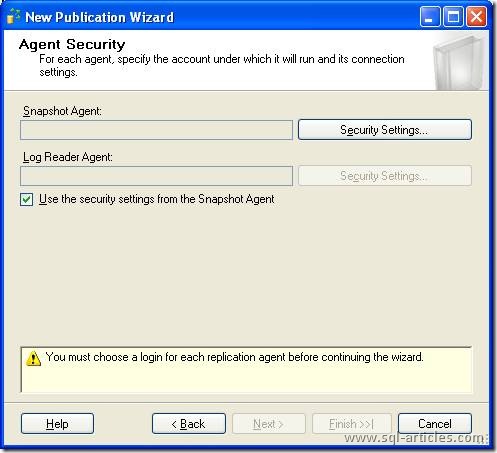
Configure the agent security for the publication and click next. This is the login which the replication agents will use to communicate within themselves.
Click on the next screen for creating the publication.

Enter a Name for the publication and click finish.
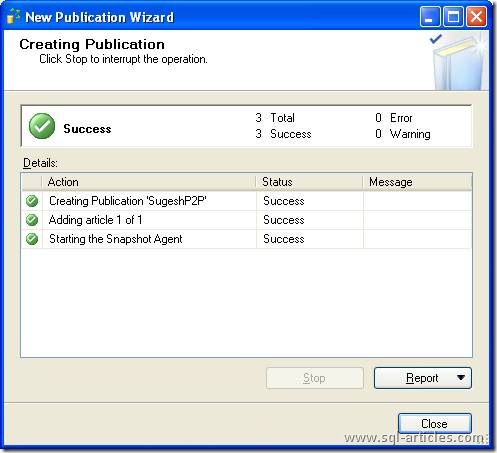
Once you see success in all the steps click close. You have created the publication for this replication instance. The next step is in configuring this publication for P2P replication.
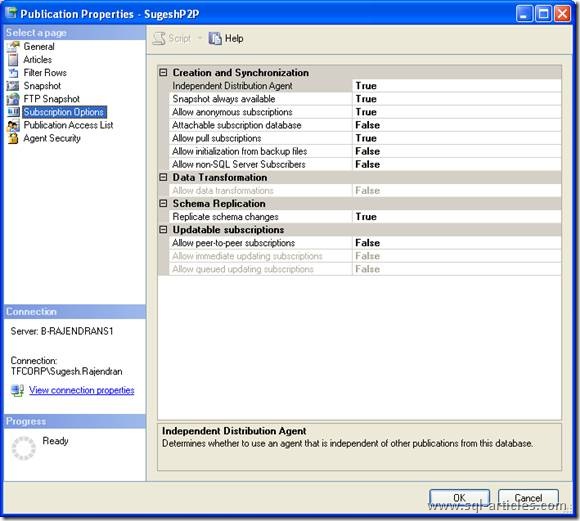
Click on the properties of the publication. Move to the subscriptions options page. You will see an option Allow Peer-to-Peer replication. Change the value from False to True.
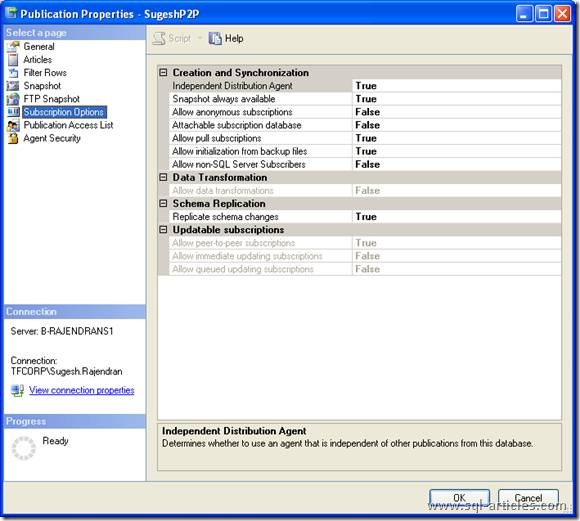
Then Right click the publication and you will see configure peer-to-peer replication. Click that to proceed. Click the publication for which you need to configure the replication instance and click next.
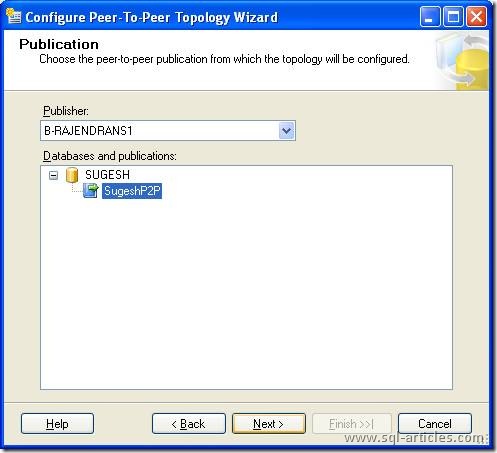
Add the peer instances and click next
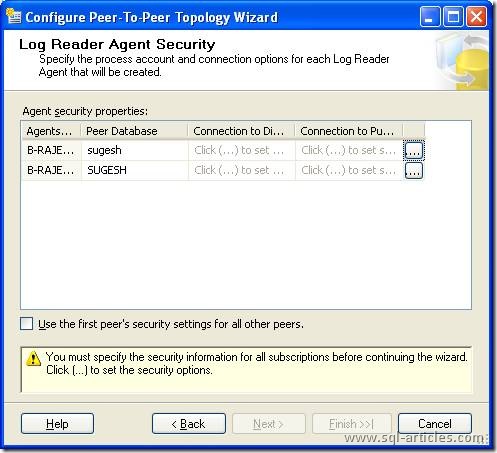
Configure the log reader agent security for the peers and click next.
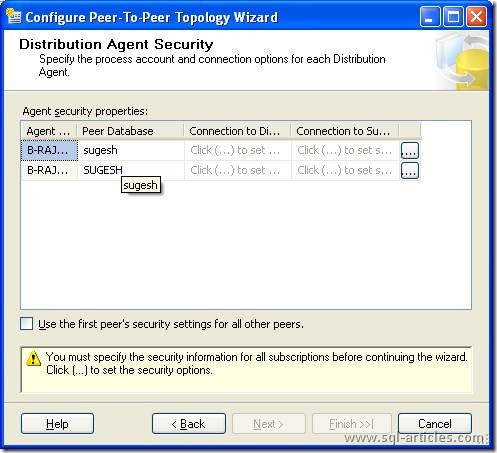
Configure the distributor agent security and click next.
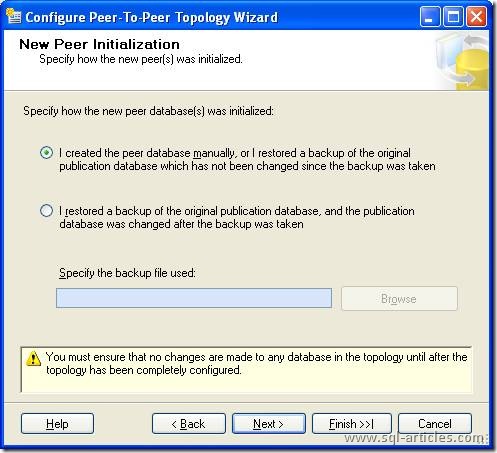
Here you will need to provide the details of how you initialized the database in the peer. You can either create database manually or restore a database. In this case I have restored the database with no changes gone to the database in the publisher. Click next.
Click finish. Check for the errors and warnings in the results screen.
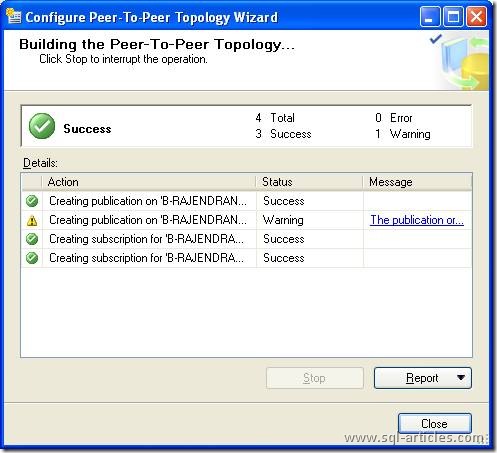
Once all steps have been configured successfully, you are done with configuring P2P replication.
Leave a Reply