Microsoft has released its RTM version of SQL server 2008 on August 06th 2008. Hope we are ready for next migration, this article will help you to install SQL server 2008.
There are two main pre-requisites to proceed with the installation; they are a) .Net Framework 3.5 & b) Windows Installer 4.5. You dont need to separately download these setups, these are already included in SQL Server 2008 setup DVD.
* To begin the installation process, insert the SQL Server 2005 DVD into your DVD drive and wait for auto run to start.
* From the auto run dialog as shown below, click Run the SQL Server Installation Wizard. Once you start the installation the setup will check for pre-requisites, if its not installed then it will pop-up with the below dialog box.
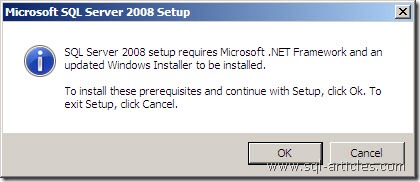
* Once this pre-requisites gets completed you need to reboot your machine and then SQL 2008 setup starts.
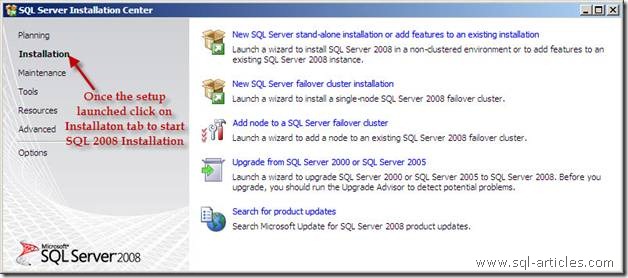
* From the above wizard, click on Installation tab in the left pane and click on New SQL Server stand-alone installation or add features to an existing installation in the right pane to begin with the installation.
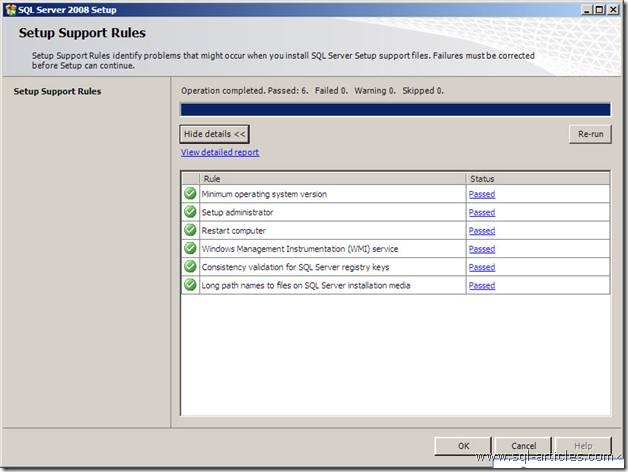
* On the System Configuration Check (SCC) page, the installation computer is scanned for conditions that may block Setup. To proceed with Setup after the SCC scan completes, click OK..
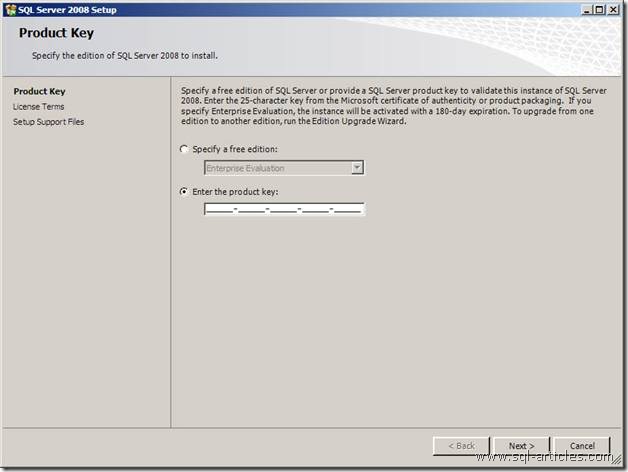
* On the Registration Information page, enter product key license information. To continue, click Next.
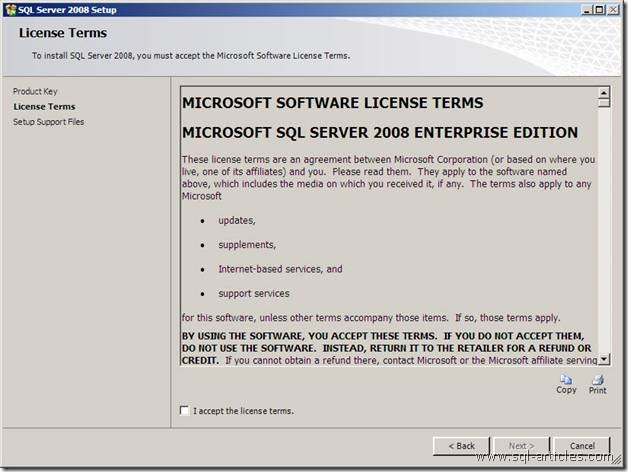
* On the End User License Agreement page, read the license agreement, and then select the check box to accept the licensing terms and conditions. Accepting the license agreement activates the Next button. To continue, click Next. To end Setup, click OK.
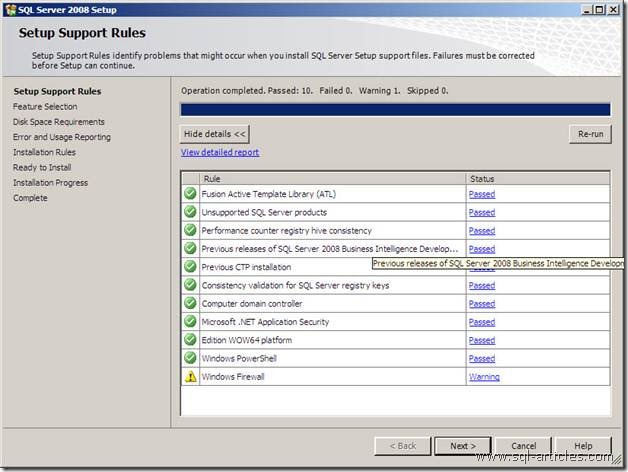
* In SQL Server 2008, setup support files will check the system and provide you the errors and warnings with the installation.
Note: Warnings dont stop the installation, you can proceed with the installation even if warnings are there.
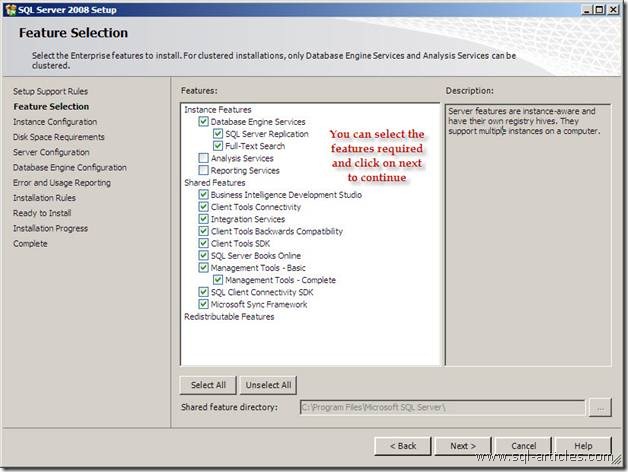
* On the Feature Selection page, select the program features to install using the check boxes and click next to continue with the installation.
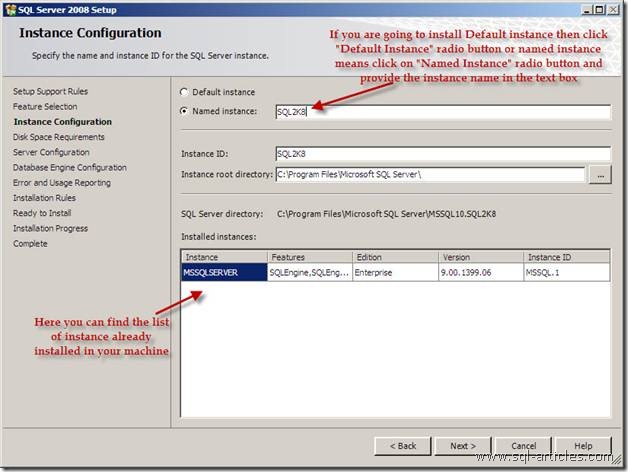
* On the Instance Configuration page, select a default or named instance for your installation. If a default or named instance is already installed, and you select the existing instance for your installation, Setup upgrades it and provides you the option to install additional components. To install a new default instance, there must not be a default instance on the computer. To install a new named instance, click Named Instance and then type a unique instance name in the space provided. To install a new named instance side-by-side with an existing instance, click Named Instance and then type a unique instance name in the space provided.
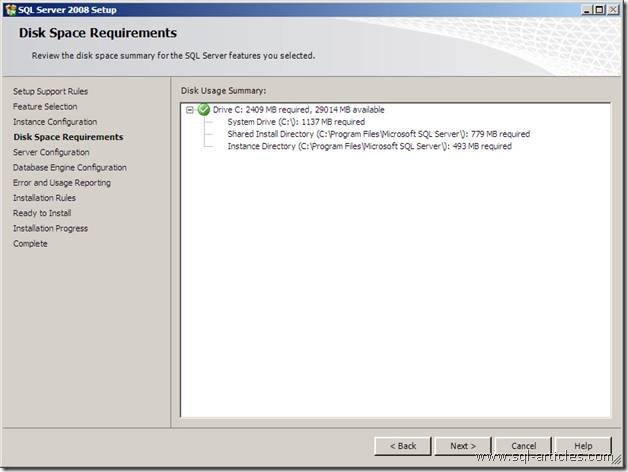
* Next page will give you the summary of disk space requirements and its details
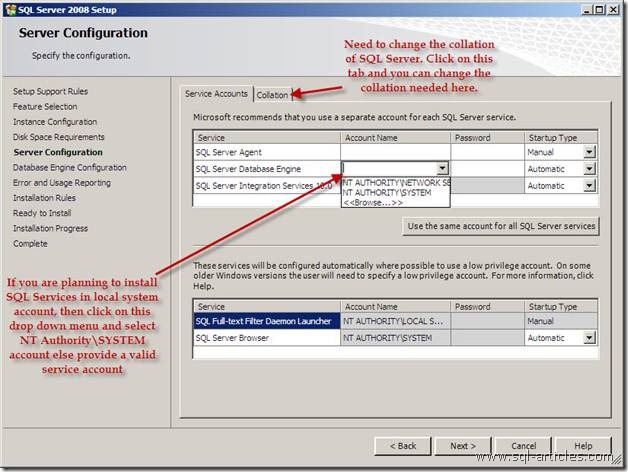
* On the Server Configuration page, specify the user name, password, and domain name for SQL Server service accounts. You can use one account for all of the services
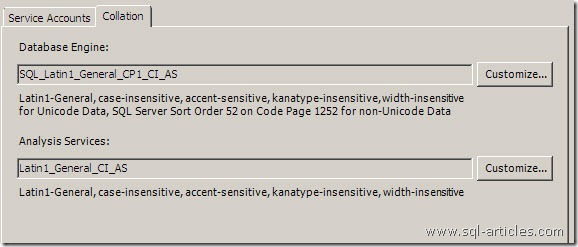
* To choose the server collation , click on the collation tab in the server configuration page. Then click on Customize to select a Collation.
* On the Authentication Mode page, choose the authentication mode to use for your SQL Server installation.
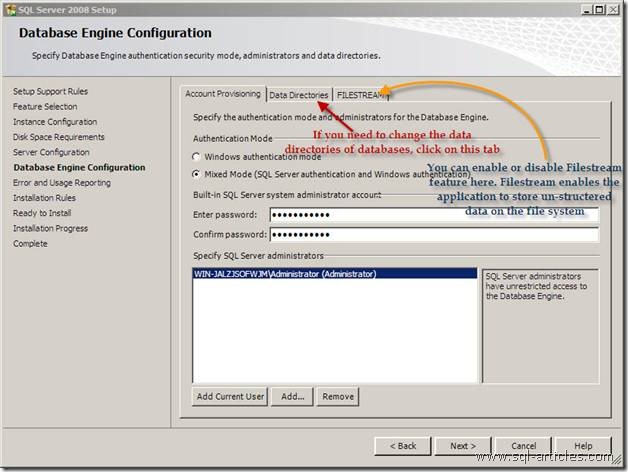
If you select Windows Authentication, Setup creates an sa account, which is disabled by default. Enter and confirm the system administrator (sa) login when you choose Mixed Mode Authentication.
Important: This option can also be changed after installation and it requires a SQL service restart
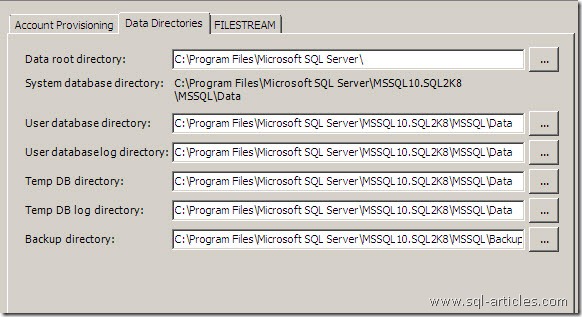
* To install components to a custom directory, click Data Directories tab in Database Engine configuration Page. You have text boxes for all SQL related files. In SQL 2008 you can specify tempdb directory directly at the time of installation.
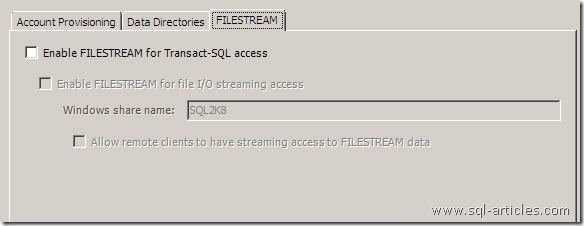
* To Enable Filestream option click on Filestream tab in the above page.
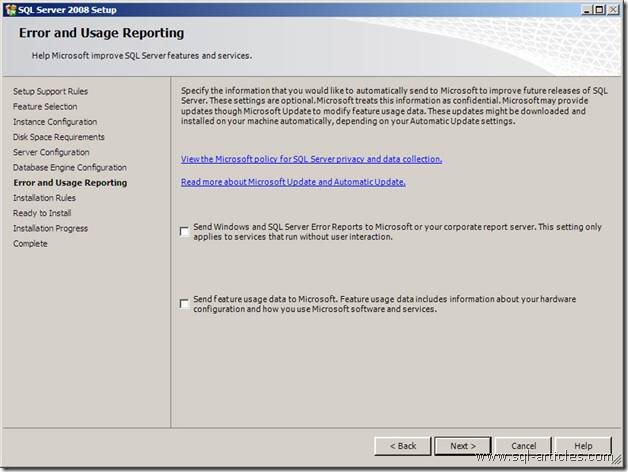
* On the Error Reporting page, optionally clear the check box to disable error reporting. To proceed, click Next.
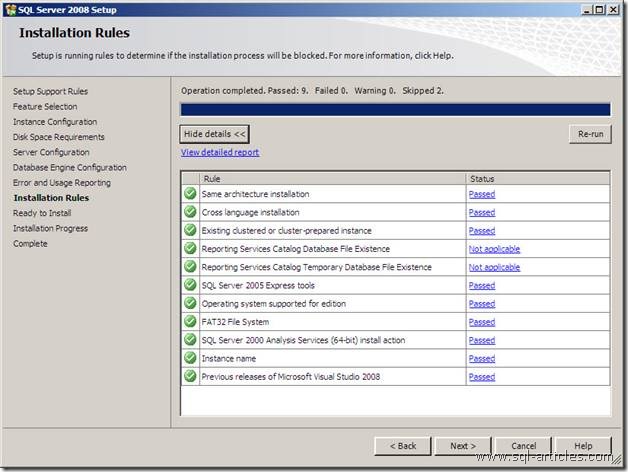
* On the Ready to Install page, review the summary of features and components for your SQL Server installation. To proceed, click Next.
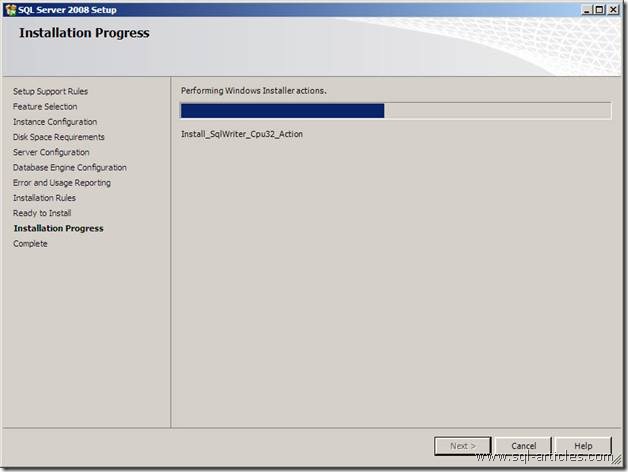
* On the Installation Progress page, you can monitor installation progress as Setup proceeds.
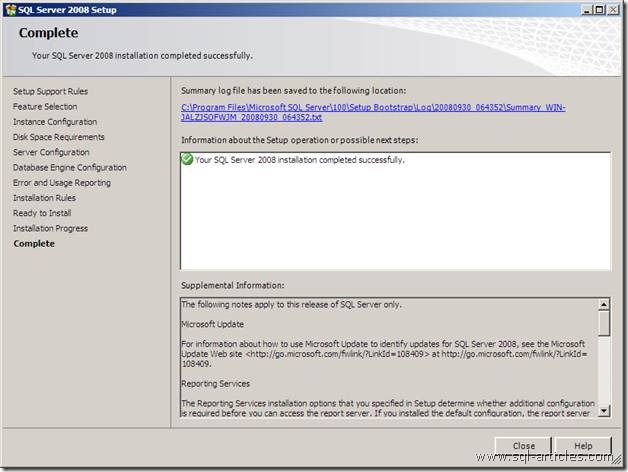
* On the Completing the Microsoft SQL Server Installation Wizard page, you will be prompted to restart your server computer. Click OK After clicking on OK review the installation summary and click on close and restart your system to start working with SQL server 2008.
Leave a Reply