In this article we are going to discuss about installing SQL Server 2008 R2, I know Im little late as R2 is released last month. Before we stepping into installation make sure you have necessary hardware and software requirements, check http://technet.microsoft.com/en-us/library/ms143506(SQL.105).aspx this KB article for the same.
Once you are sure with requirements, insert the setup DVD or copy the setup files to local server.
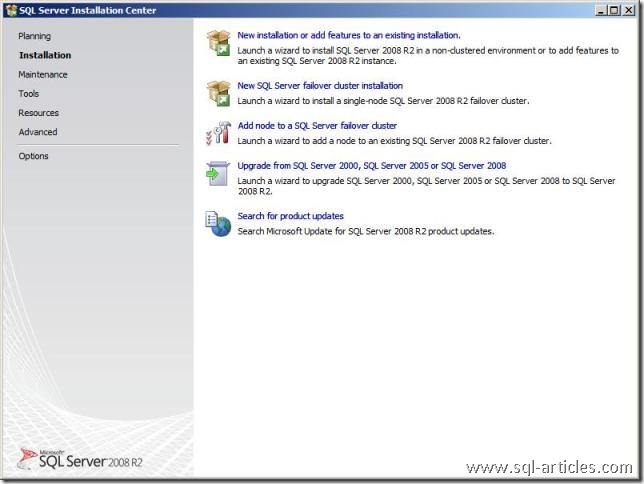
- Run setup.exe from the DVD, SQL installation center wizard will pop up
- Click on Installation tab in the left hand pane and in the right side you can find option for installing stand alone, failover SQL cluster etc. In this article we are going to install a stand alone SQL Server.
Installation Setup support rules will check the server for installing setup support files.
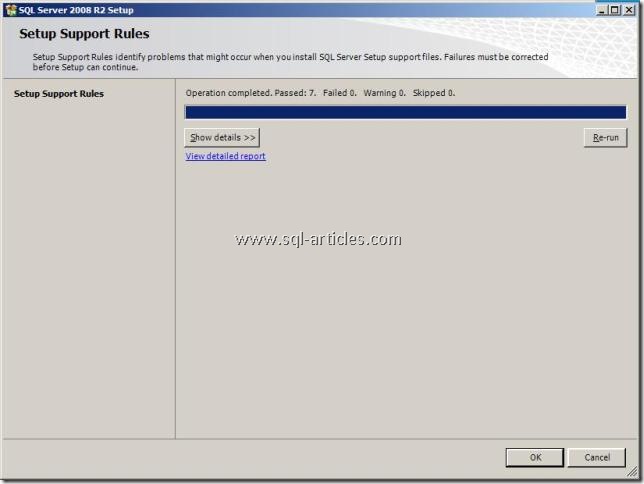
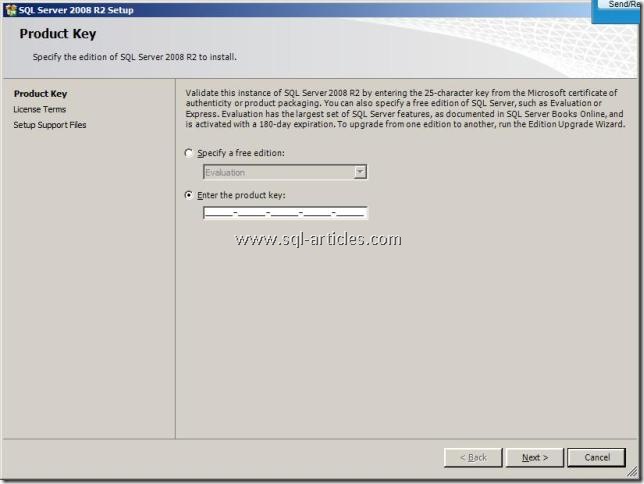
Click ok to enter product key as shown below
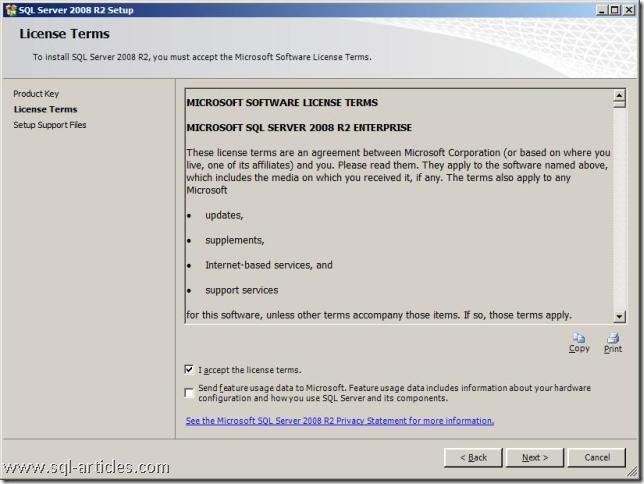
After providing the license key it will ask for license agreement confirmation, click on the checkbox and click Next
You will moved to Setup support file installation, click on installation button to proceed.
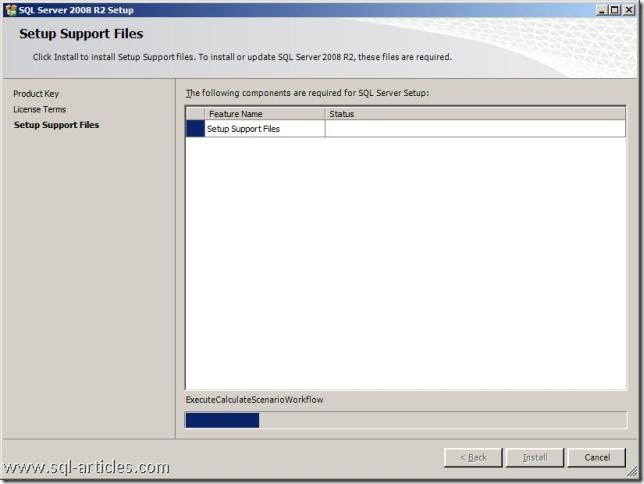
After this installation a new setup wizard will start and verify the server
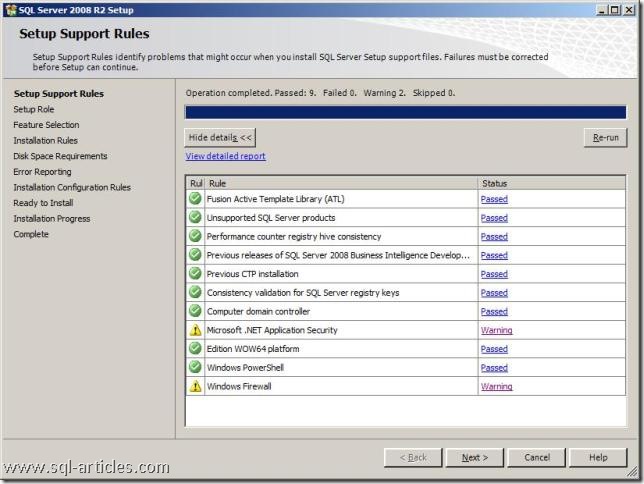
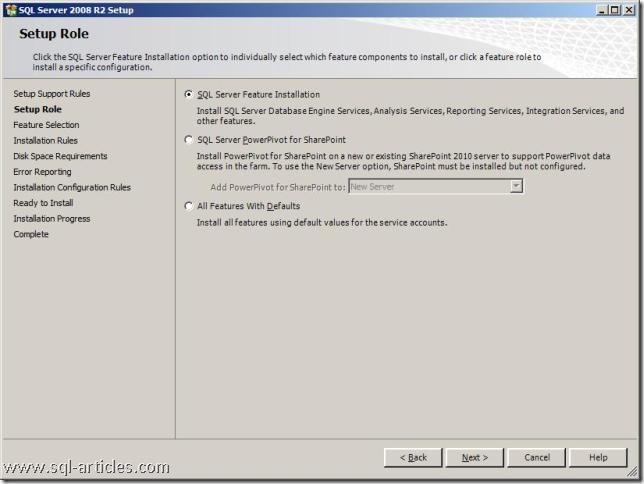
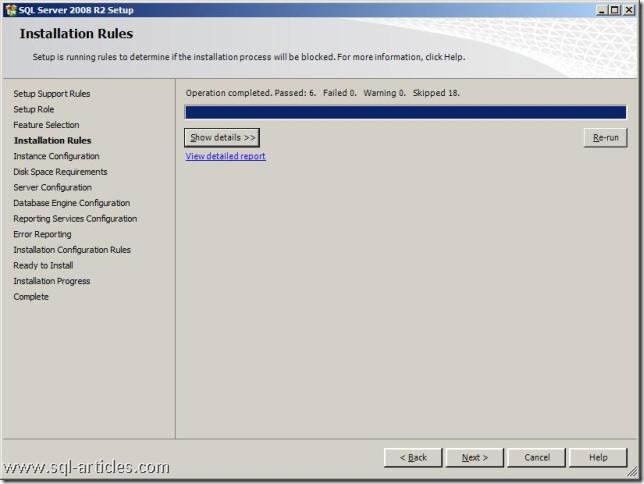
Click next to proceed. From SQL Server 2008 R2, MS has introduced setup rules in SQL setup. We have 3 new roles in the setup and its below, you can choose which ever suites you.
SQL Server Feature Installation
Select this option for customizing your SQL installation. You need to select which component to install, etc
SQL Server PowerPivot for Sharepoint
This option is to integrate power pivot (Codenamed Gemini) with sharepoint server. You can provide the sharepoint server details in the drop down box.
All Features with Defaults
This option will install SQL Server and it’s components with default value.
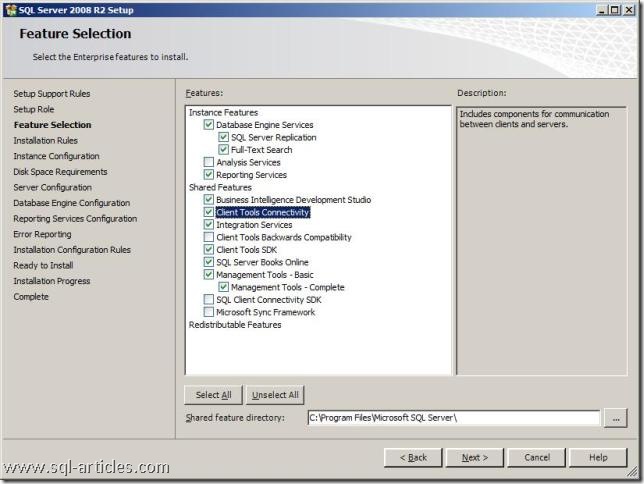
In the next page you have the option to select the features to be installed with SQL server. Select the checkbox based on your requirement.
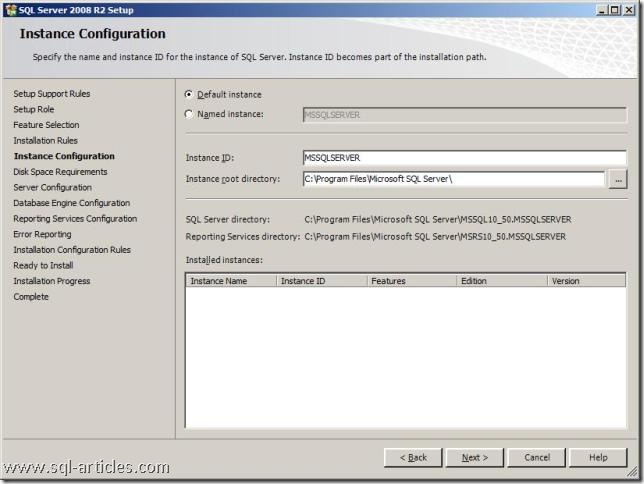
Provide Instance information in this wizard,
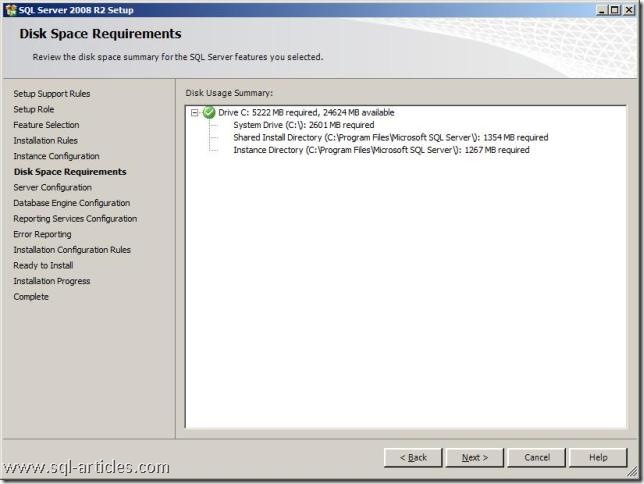
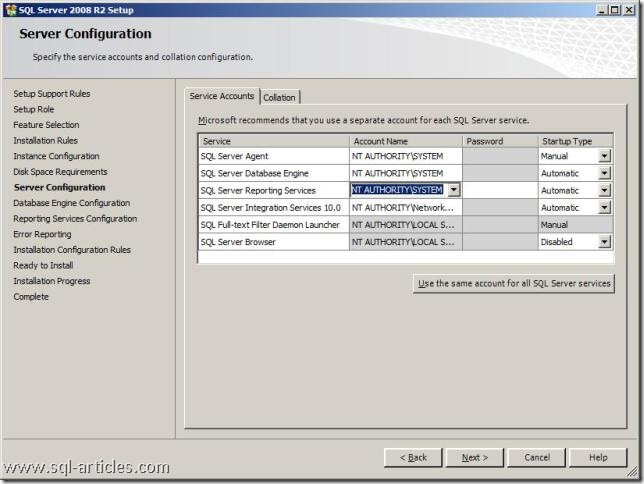
Provide Service account details for selected services. You can also change service account later however you need to either provide service account credentials or select NT authority System
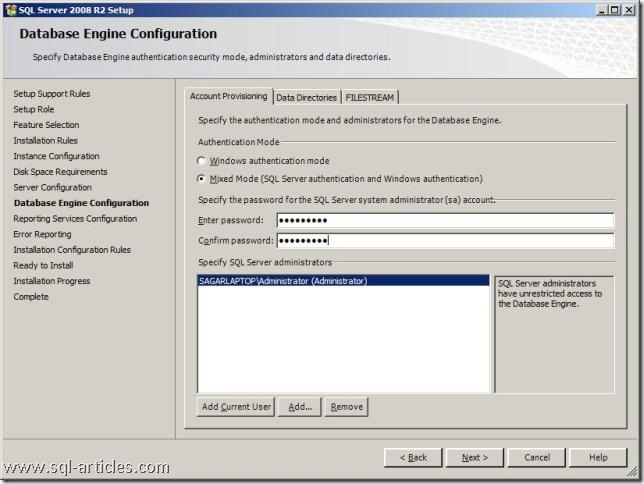
Select authentication type , data directories and filestream information
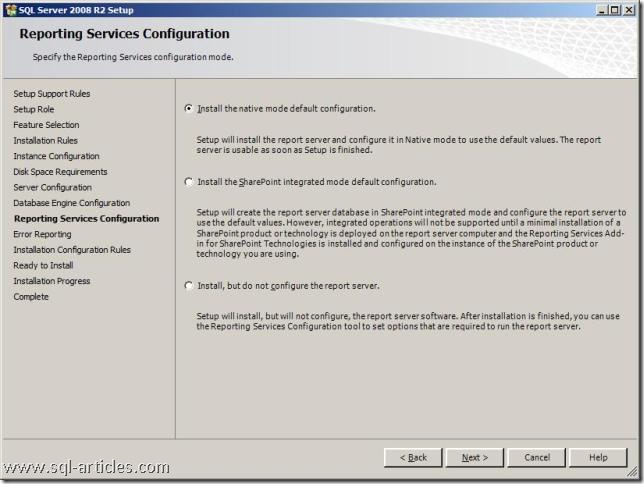
Below screen is another addition to SQL 2008 R2 setup, In this window you can configure RS directly if you choose RS feature. Since we dont require IIS for RS, the first option will configure it in native mode, second option will allow the user to integrate RS with sharepoint and the last option will install RS and it wont configure RS (this is the default option for previous version of SQL Server)
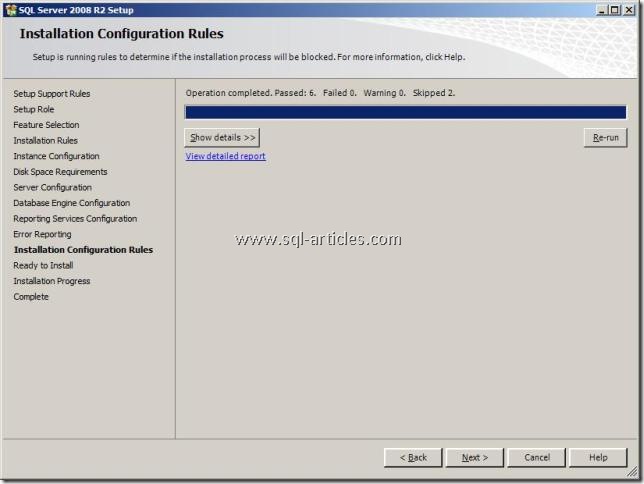
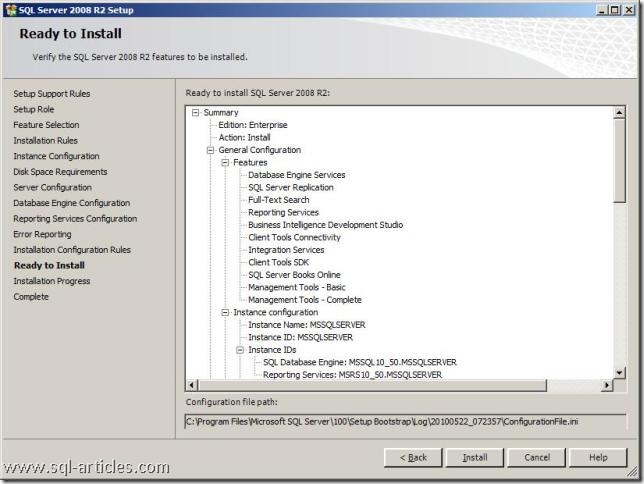
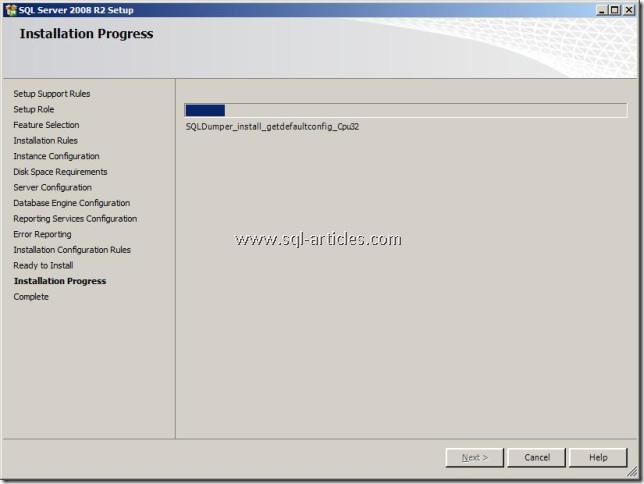
Verify the setup summary and click Install button to start the installation.
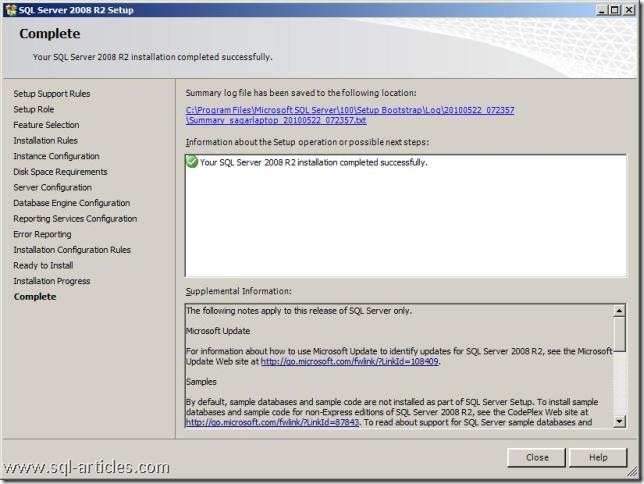
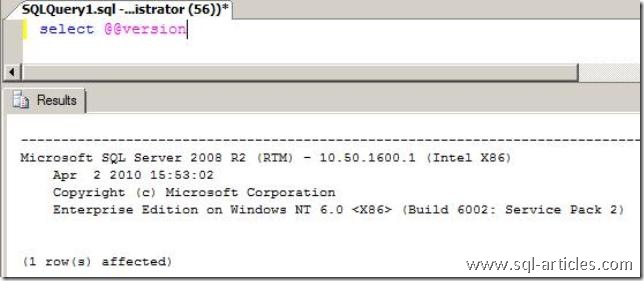
After installation reboot the server and check SQL version, here is the details for RTM build of SQL 2008 R2
Leave a Reply